Your cart is currently empty!
Free Shipping on all orders over $75!
Nursery Update: A cheery DIY lamp upgrade
By
.

We’ve been making a lot of progress in the nursery around here the last couple days. With my showers over, it was time to put things away and start getting organized. Not to mention, I have my final set of maternity photos coming up on Saturday and I want some of those photos to be in the nursery – which means it actually needs to look like a nursery!
I don’t think we will have the entire thing completed by Saturday, but that’s okay. Most of the major projects – in fact, every major project except one – are completed.
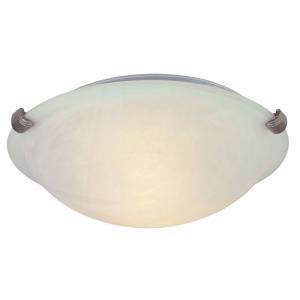
One of those projects was to upgrade the lighting in the room. The room currently has the dumbest, most stupid light fixture I’ve ever seen in a room. It’s a small, flat ceiling light that doesn’t really project out any light at all. And visually, it’s nothing to look at.

Boooooooring!
I started looking for overhead lights that we could replace this light with was quickly discouraged by what I was finding. Nothing was really jumping out at me like “Pick me! I belong in your child’s room, casting a nice, warm glow upon him!” Everything either felt too grown up, or way too childish.
So, the light remains. And the problem of insignificant lighting remained.
Then, we re-arranged the living room to make room for the baby’s swing. And suddenly, the floor lamp we’d had in the living room didn’t fit anymore.
I brought the floor lamp into the nursery and realized this was the perfect problem-solver. Honestly, we probably won’t use a ceiling light that much in the room to begin with. He won’t be playing in there for quite awhile and, when he is in there, it will likely be nighttime and who wants the room flooded with a bunch of light when you’re trying to settle down and rest?
Not to mention, I realized that we would want a small light by the rocker – for reading, feeding or just plain hanging out purposes.
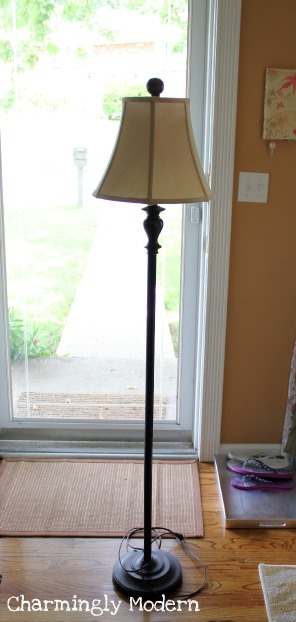
The only problem? This floor lamp was ugly.

We bought this lamp four or five years ago, from Walmart. I’ve never liked it, but it was a lamp and it filled a need.
Its ugliness, though… well, I just couldn’t get over it. After perusing the floor lamp selection at our local Home Depot and Lowe’s, I decided my options were to either drop $50-75 on a nice floor lamp or do something about the existing floor lamp.

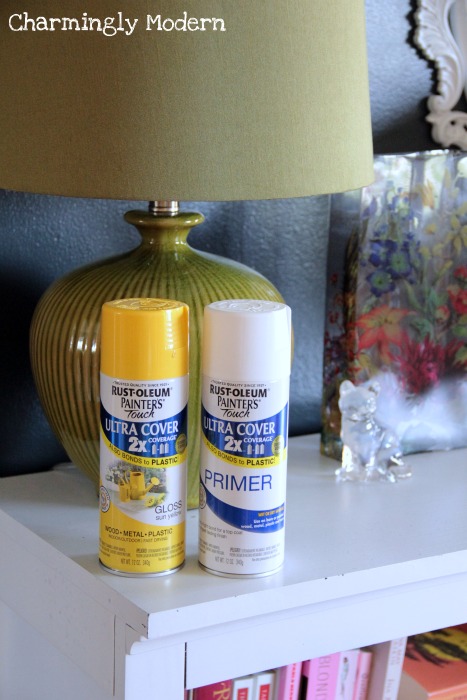
I picked up these two cans of spray paint, figuring if the color didn’t work out or the lamp wouldn’t accept the paint it was no big loss since I didn’t really like that lamp anyway.
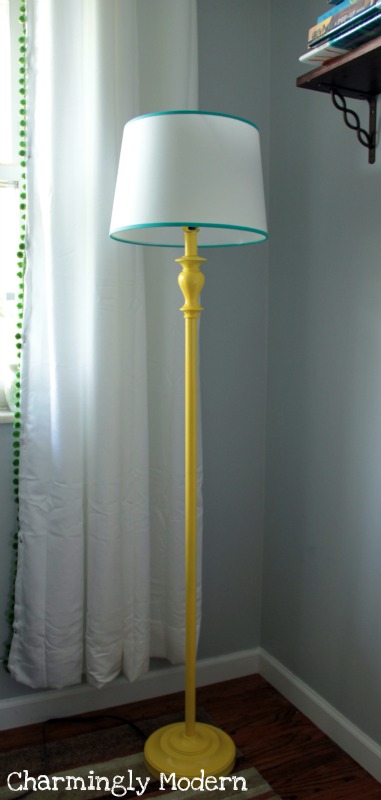
As soon as I got home, I got to work on the lamp – donning a face mask, of course! – prepping it with painter’s tape (I covered the lightbulb fixture and part of the cord), priming it with the white and, an hour later, coating it in the yellow. After another hour, I brought the lamp inside and couldn’t believe how much of an improvement a $3 can of spray paint made!
I wasn’t about to put the boring, fabric lampshade back on it, though, so I ran out to Target to check out their selection (after first browsing online at Anthropologie’s selection of lampshades and about peeing my pants at the thought of paying $125 for a lampshade) and found the perfect one.
Just a quick tip – if you’re in the market for a new lampshade, be sure to take into account the height/width of your current lamp so you buy the correct size shade. To figure out what size shade I needed for my lamp, I measured the top and bottom shade openings on the current shade the lamp was using, as well as the height of the shade. A medium-sized shade is what ended up working for me.

Pretty great, huh? I’m not gonna lie – I am totally proud of my little lamp! The shade was $13.79 and the spray paint was $3.47 per can. This makeover cost me $20.73 which is pretty good if I don’t say so myself!
In the picture, too, you can see a little sneak peek of a few other things going on that I’ll be revealing soon: baby’s got shelving for his growing book collection and he’s also got curtains (that need to be ironed and have the green pom poms I added on more securely attached. They’re just pinned on right now).
The lamp actually goes further back in that corner and the rocker sits in front of it. It makes the perfect little nook.
So that is my little DIY lamp upgrade which, I think, turned out lovely. If you’ve got a nursery you’re working on – or just any room in your house you’re working on – have you done any fun DIY updates that turned out a lot better than expected? Do tell!

Leave a Reply