Your cart is currently empty!
Free Shipping on all orders over $75!
Read Your Knitting: Understand the Difference Between Knit and Purl Stitches
By
.
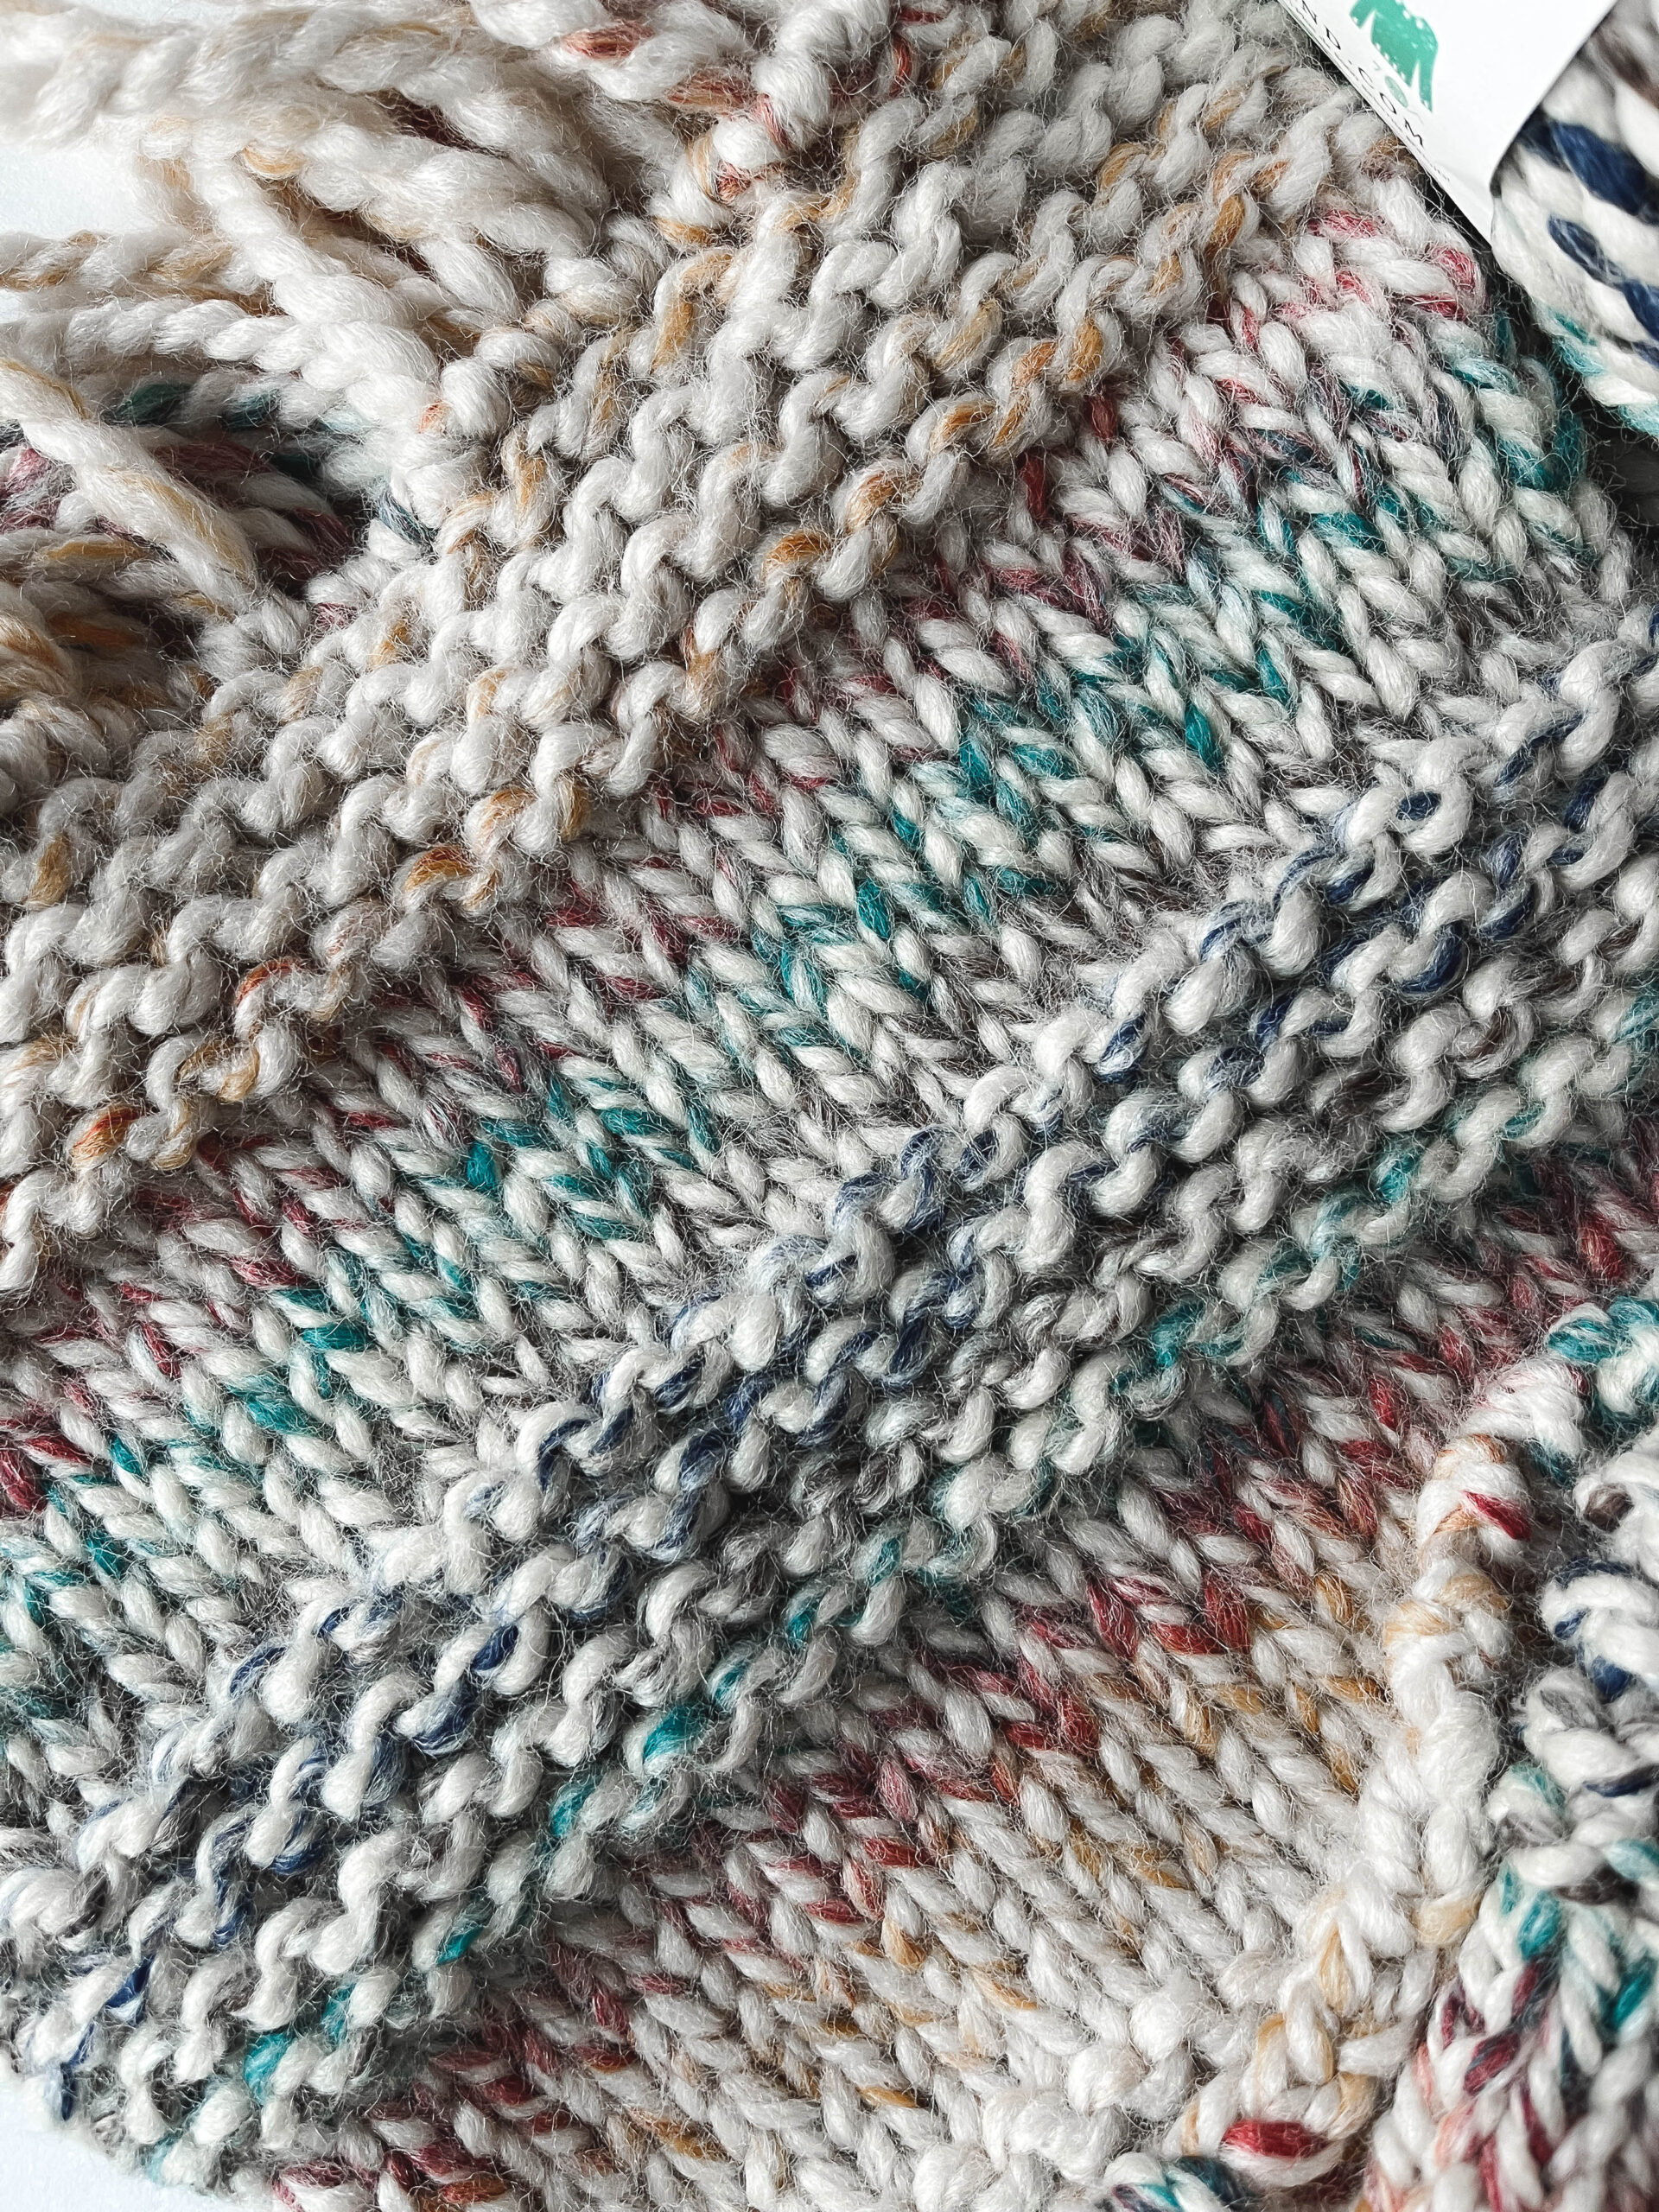
Fun fact: knitting is, quite literally, only two types of stitches – a knit and a purl. To learn how to knit, you only need to learn the difference between a knit and purl. This is good news for new knitters because it means knitting is very simple to pick up. You only have to learn TWO STITCHES! *cue the celebration music*
“There’s gotta be a catch,” I can hear you thinking… of course, you’re right. Here’s the catch: while knitting is only 2 stitch types, there are tons of stitch patterns in knitting.
Stitch patterns, like stockinette stitch, garter stitch, seed stitch, are different combinations of the two most basic stitches (a knit and a purl). Using stitch patterns in knitting is what makes your finished object look interesting.
So when you say you want to learn to knit… what you actually want to know how to do is use those stitch patterns to create something cool.
Which means: knowing how to recognize what knit and purl stitches look like is the first step toward learning how to recognize different stitch patterns in knitting.
The best way to learn the difference between a knit and purl is to understand how they’re created in the first place!
The main difference between knit and purl is as easy as understanding front and back.
Here’s what I mean…
If you’ve ever read through a knitting pattern, you’ve probably noticed terms like “wrong side”, and “right side.” Or seen an abbreviation like RS or WS.
The right side of the knitted fabric you’re creating is usually the side that shows the knit stitch. This is also sometimes called the front side of the fabric.
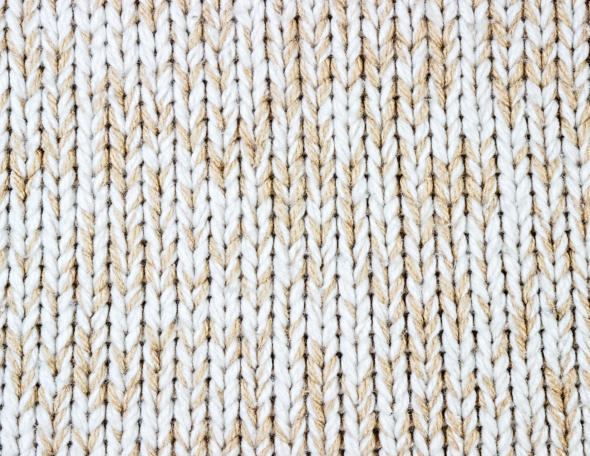
When you’re looking at the front of your work, you’ll notice all the stitches look like a V.
A knit stitch creates this series of Vs. As you knit, those Vs will stack up with each new row you create.
The wrong side, also called the back of the fabric, is where the purl side lives.
Because knitting is only 2 stitches – a knit and purl – this means whether you’re knitting or purling, you’re always creating both a knit and a purl. Sound confusing?! Hang with me.
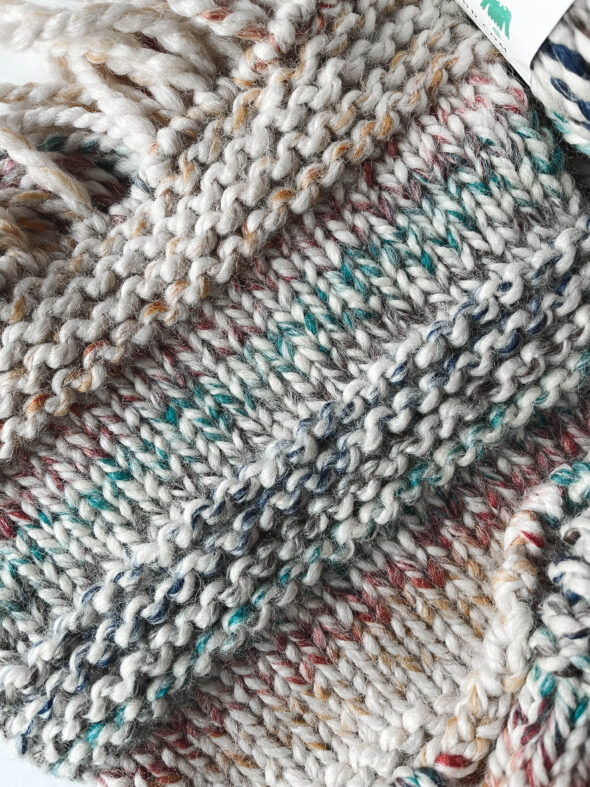
Are there exceptions to this? Yes! Some stitch patterns use knits and purls together to create a specific look on the right side of the fabric. Sometimes a designer wants the purl side to actually be the right side, and the knit is the wrong side (this is often the case with cabling).
In the photo above, you’ll notice the purl stitch is actually on the “right side” of the scarf. But so is the knit stitch.
With that said, just because there are exceptions doesn’t mean that as a general rule of thumb knits on the front and purls on the back isn’t accurate.
The most important thing to understand about knits versus purls is the knit stitch looks like a V, and usually indicates the right side or the front of the work. The purl looks like 2 interlocking bumps, and usually indicates the wrong side or the back of the work.
Recognize a Knit by Learning How to Create a Knit Stitch
The best way to sort through this is to give it a go. Getting into the rhythm of knitting will help you see the Vs that indicate a knit stitch.
Before you can knit, you’ll need to first cast on some yarn. Not sure how? Check out this video.
Here’s how to knit:
Step 1: Insert the right needle into the loop on the left needle, at the back of the loop. The right needle will be behind the left needle, forming an X.
Step 2: Wrap the working yarn (the yarn connected to the ball you’re using) around the right hand needle, from behind.
Step 3: Next, hop the lefthand needle over the righthand needle. Or, you can bring the right hand needle under and in front of the left hand needle. However you choose to do it, the right needle should now be in front of the left. The needles still form an X. The yarn you wrapped around the needle in Step 2 should still be on the right needle.
Step 4: Drop the left needle out of the X. The yarn that was on the left needle is now “caught” on the right needle. You’ve knitted a stitch! You’ll have 1 stitch on your right needle now.
Step 5: Repeat steps 1-4 until you’ve knitted all the stitches on your left needle, and they’ve been transferred to the the right needle.
Recognize a Purl by Learning How to Create a Purl Stitch
A purl is a backwards knit stitch. You work it the opposite of a knit stitch, by starting out with your working needle (the right hand needle) by placing the tip of it in front of the stitch. Follow these steps to purl –
Step 1: Insert the right needle in front of the left needle, into the loop on the left needle. Your needles should form an X, with the right needle in front of the left needle.
Step 2: Wrap the working yarn (the yarn connected to the ball you’re using) around the right needle, on top of the needle.
Step 3: Bring the left needle in front of the right needle. You can either hop it over, or bring the right needle under the left. However you do this, your needles will still form an X. The right needle will now be behind the left.
Step 4: Remove the left needle from the stitch. This may have naturally happened as you moved the left needle in front of the right one in Step 3. That’s okay! You’ve now transferred the stitch to your right needle. You just purled a stitch!
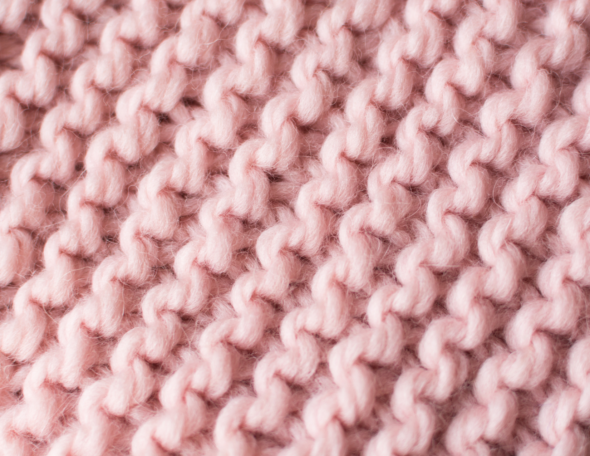
As you repeat this with each stitch, you’ll see you’re creating that purl look, aka, a horizontal bump. Purl stitches look like sideways groups of interlocked loops of yarn. These “loops” you’re seeing are the loops that come off the lefthand needle!
Take a closer look at your knit and purl stitches
Since we’ve talked about how the knit side of your work is the “right side,” and the purl side is the “wrong side,” … but we’ve also said that a knit is the back of a purl, and a purl is the back of a knit – it may feel very confusing when it comes to actually reading your knitting.
Sometimes it’s helpful to knit and purl a few rows, then pickup your knitting and stretch it out a little.
Start by first stretching out the knit side of the fabric. Notice how the Vs are actually small loops that are wrapped around bars of yarn. You’ll note that these bars are the horizontal bumps on the purl side.
Now, turn your work so you’re looking at the purl side of the fabric and repeat the stretching. Now you can see why the purl side has such an interesting texture to it – because it’s the bar that’s holding together the loops of the V stitch.
A purl bump is like interlocking blocks. When you look at the purl side, two of those interlocking blocks are one stitch. When you look at the knit side, one V is one stitch.
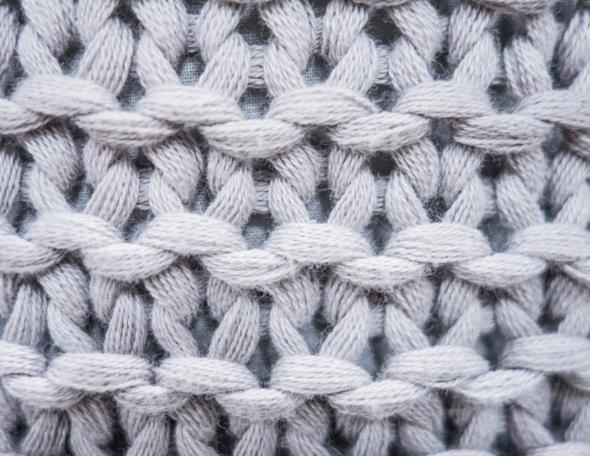
Types of Stitch Patterns Using Knits and Purls
The last key piece to understanding a knit and purl stitch is knowing how these combine together to create the stitch patterns mentioned earlier.
If you’ve never read a stitch pattern before, you should know 2 very important abbreviations: a knit stitch will be denoted with a K, and a purl stitch will be denoted with a P.
In the pattern, you may see something written like K2 P3. This means knit 2 stitches, then purl 3 stitches. If you see something written like this: [K2 P3]* then that means you should knit 2 and purl 3 stitches until you reach the end of the row and there are no more stitches left to work. The asterisk usually indicates a repeat.
Here are a few common stitch patterns and how they use knits and purls to create unique fabrics:
Stockinette Stitch: This creates a knitted fabric you’re probably most familiar with seeing – where the front side (or “right” side) is all knitted stitches, and the back is all purls. To knit stockinette, you simple knit every stitch on the right side, and purl every stitch on the wrong side. Stockinette tends to create a very durable fabric, but it isn’t reversible unless the pattern you’re working with wants the purl side as the front of the fabric.
Garter Stitch: This is the best stitch pattern for beginner knitters, because you knit every single stitch whether it’s the “right” or “wrong” side of the fabric. Garter stitch creates a bumpy, ridged fabric that can be interesting for scarves or edges on things like sweaters. It’s considered reversible, and tends to be pretty durable and sturdy.
Seed Stitch: this stitch pattern creates a reversible fabric with little bumps that look like stitches. It’s knit over an uneven number of stitches, like: [K1 P1]* K1. So this means, you knit 1 then purl 1 and repeat that pattern until you get to the last stitch at the end of the row, then you knit that stitch. You’ll turn the work and repeat that same pattern, which means you’ll be knitting purls, and purling knits.
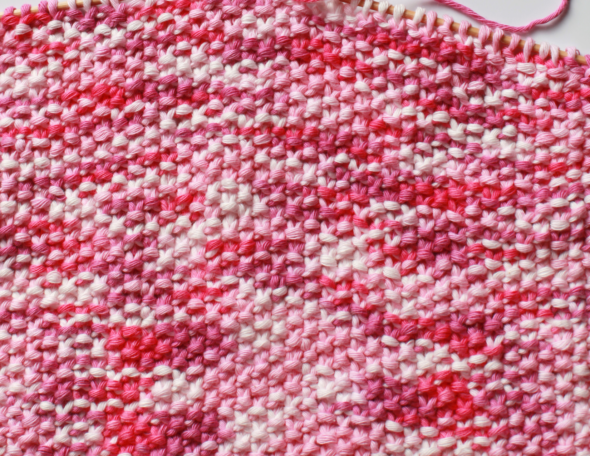
Moss Stitch: This is basically an elongated version of seed stitch that’s created over a four row repeat. Here’s how you knit it: Rows 1 and 4: K1, * p1, k1; rep from * to end of row. Rows 2 and 3: P1,* k1, p1; rep from * to end of row. You repeat these 4 rows over and over to create moss stitch.
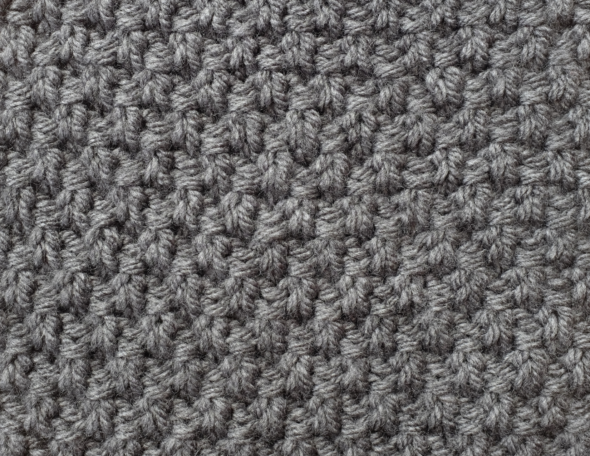
Rib Patterns: Rib patterns are typically created over an even number of stitches, and are very stretchy. They’re ideal for cuffs, scarves and hats. You can do an even rib, which is an equal number of paired knits and purls – for example, a 2×2 rib means you knit 2 stitches, then purl 2 stitches and repeat. There are also uneven ribs, like a 3×1 (knit 3, purl 1) which create interesting looks.
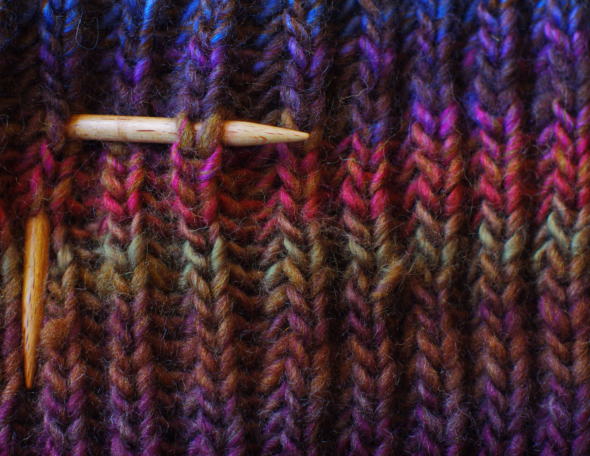
I hope this helps you better understand the difference between a knit and a purl – and that you feel a little more confident now when looking at your knitting! You’re well on your way to reading your knitting like a pro. Leave a comment if you found this helpful! I’d love to hear from you.
If you want to learn how to knit and purl while creating something fun, check out the Free Beginner Scarf knitting pattern! You’ll learn everything you need to know about casting on, knitting, purling, garter stitch, stockinette stitch, casting off, weaving in ends, and (optionally) attaching fringe to your scarf from just one pattern. Get your free copy using the form below:
Happy knitting,
Amanda
One response to “Read Your Knitting: Understand the Difference Between Knit and Purl Stitches”
Good. This is my second year learning to knit and just starting to purl. Your article was helpful. I am a lefthanded 80 year old who has a righthanded hobby. Thank you. Sandra Haynie.
Leave a Reply