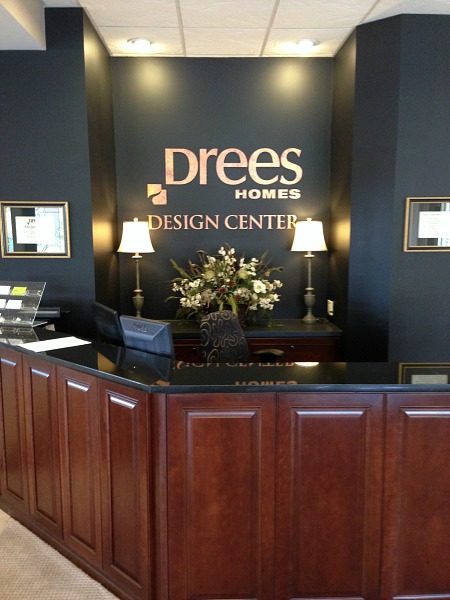
Remember when I shared about our time at the Drees Design Center? I put together a few moodboards showing our selections and here is the first of those – what we chose for the outside of our home.
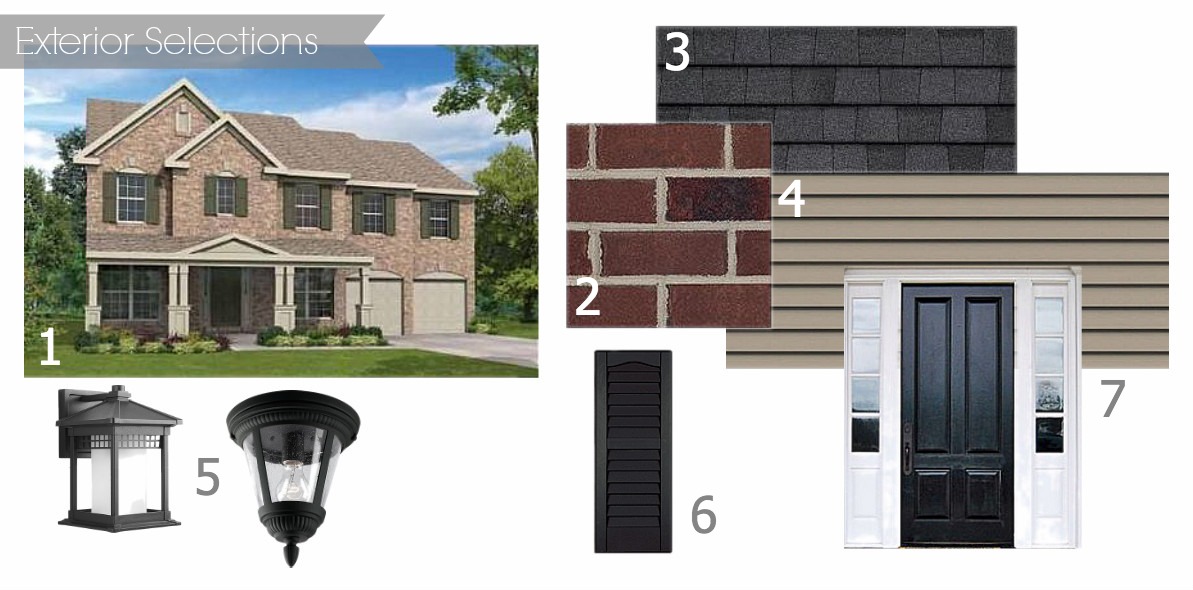
1 – Drees’ rendering of our home’s exterior
The cool thing about building a new home nowadays is you can escape the “cookie cutter” effect since you’re able to customize so many details. The way the process works with our builder is you first choose your neighborhood. Each neighborhood has a set number of floor plans that fit with that area’s vibe, or portray the look the builder wants that neighborhood to have. Once you’ve chosen your floor plan, you then choose the exterior of your home from several “elevations.” I don’t know why they call the exteriors elevations, but they do.
In our case, we chose the Davidson floor plan and elevation D. In our particular floor plan, there are 7 different exteriors to choose from, and all have very different styles. D has a craftsman look to it, which I really love. Plus, it had a sweet looking porch. Bonus.
Each exterior has a different starting point for price, and that price can vary within a neighborhood if that particular community has different sections. In our case, our community has three different sections. The main difference is lot size. We went with the middle group – called Summits – so that we could get the exterior we wanted and have plenty of wiggle room for upgrades.
2 – The brick veneer
The Davdison D has a brick veneer on the front, so we got to choose which brick we wanted. There was also an option to add on a brick wrap, which would have put brick along the sides and back on the first level of the home, but we didn’t go with that option. We chose to not upgrade the exterior with a brick wrap because it was kind of pricey and we had other priorities. Namely, structural upgrades to the layout of the house that you cannot add in later (like a 4′ extension to the entire backside of the house that made the basement, living room and bonus room larger; and a bay window in the eat-in area of the kitchen).
We chose a brick that has dark red and black tones to it. It’s called “The Ashley” and is by Boral Brick.
3 – Roof shingles
We went with a simple black roof, because we thought that would look great with the darker tones in the brick. We upgraded to 3-dimensional shingles. This particular upgrade was really affordable so we were thrilled.
4 – Siding
Since we didn’t go with the brick wrap, that means we have siding on both sides and the rear of the home. The color is “stone clay,” and we picked the darkest siding Drees offered because we noticed other homes in our future neighborhood tend to show green growth (I’m not sure what that is… mildew maybe? It isn’t moss. But it happens around here anywhere there are a lot of trees) on the siding because it is a heavily wooded area. We also knew that a light siding would read even lighter, almost white, during the day when it has the full impact of the sun on it.
5 – Exterior lights
There are two styles of exterior lights we had to pick (actually three, but the third one is just a basic outside light that goes on the back of the house by the basement door). The first was for the carriage lights that will flank either side of the garages – that is the light on the left. The light on the right was our choice for our covered porch. The porch will have three lights across it; we went with that style even though it isn’t very craftsman-like because Drees didn’t have a base option that really fit the vibe. Plus, the lights aren’t visible from the street.
6 & 7 – Black shutters and roof; cream trim
Like the roof, we went with a simple black front door and black shutters. That door is almost identical to the one we will have, except ours is a 6-panel door.
The trim around the door, above the garage doors, the color of the porch columns and the gutters will be a shade that’s sort of cream, but on the lighter side. In the rendered photo of our elevation, anywhere you see the beige trim is what we will have painted cream.
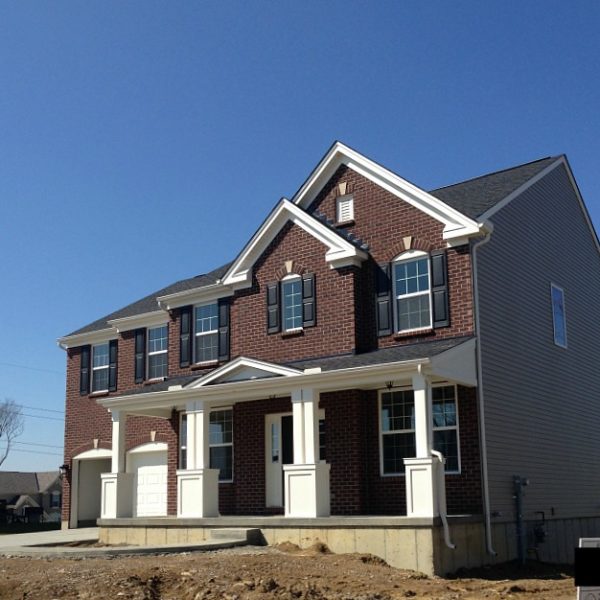
It’s hard to envision all of this together as a complete look; this was definitely the hardest part of the selection process for me. Everything we chose for the inside can be changed relatively easy, compared to something like a brick veneer or siding. Not only that, we wanted to make sure our house didn’t blatantly stand out from our neighbors, but that it also had a unique style all its own. As I’m writing this, the brick and siding are up on the house and I can say with 100% confidence we made the right choice and our house looks beautiful on the street. In my March update on the house progress, I’ll share photos and you’ll see what I mean.
Have you ever had to make huge choices like this for the exterior of your home?

[…] you remember from my exterior moodboard post, we didn’t do a brick wrap upgrade (which is something I go back and forth on regretting) so […]